Follow the instructions below to create a digital signature for the first time. If you have any questions about creating an electronic signature, please read the Electronic Submission FAQs or email the Electronic Service Delivery Team at bldesd@toronto.ca.
To electronically sign a document, you will need:
Note: Adobe Reader X is required for forms that need multiple electronic signatures.
Visit the forms page and save a copy of the form you require on to your computer.
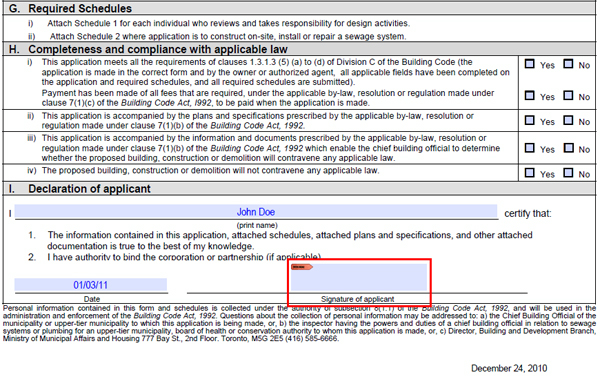
Once the form has been completed, click in the signature field. Make sure you are viewing the form in Adobe Reader X.
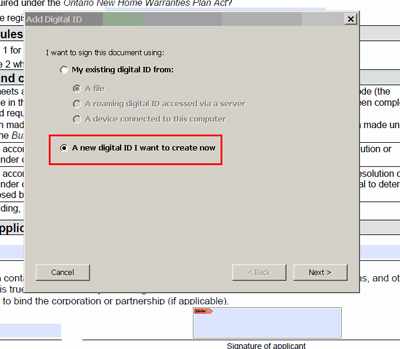
You will be prompted to create a Digital ID. The Digital ID is used to create a secure signature.
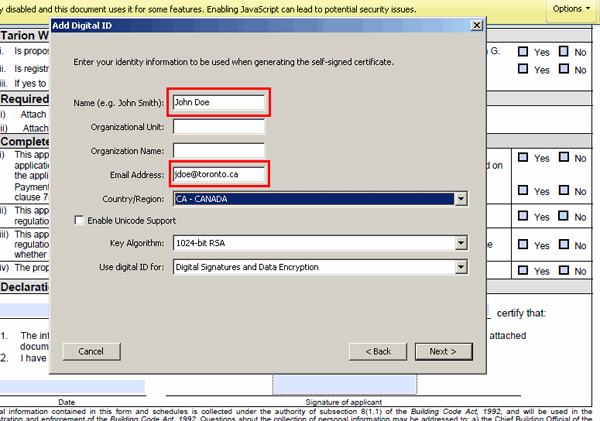
You will be asked to enter your identity information. You can add as much detail as you like, but an email address is mandatory. Once you’ve filled in your information, select “Next >”
Save your Digital ID and give your signature a password. Every time you use your signature you will need to input a password. Select “Finish”.

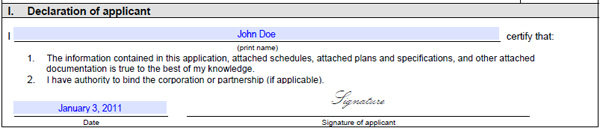
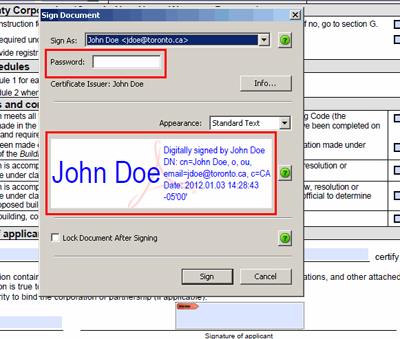
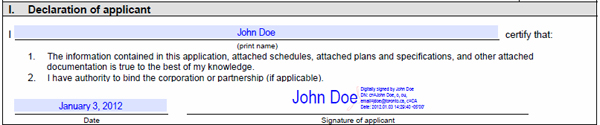
You have now created a secure digital signature. The default digital signature uses standard text (Arial font) as shown below. It is a valid digital signature and will be accepted by Toronto Building.
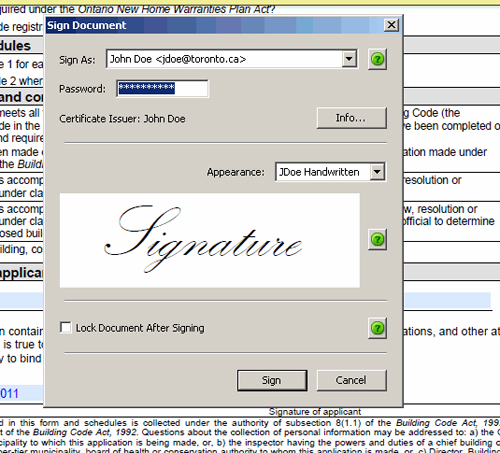
If you want to change the appearance of your signature, review steps 8 to 15 below. If you are happy with the appearance of your signature, you are ready to sign your document. Enter your password and click “sign” to apply your signature to the document.
Save the signed document. Your document has been signed electronically and is ready to be copied onto a DVD for submission.
Scan your handwritten signature into the computer and save it in PDF format. You can either scan directly to a PDF via the scanner’s software or use Adobe Acrobat’s File -> Create PDF -> From Scanner command. Alternately, you can first scan your signature as a graphic and then convert it to PDF format. Whatever technique you use to get your signature into PDF format, the important thing is that it must be cropped to the size of the signature itself.
For best results, write your signature using solid black strokes, such as those you would get from a felt tip pen, and a little larger than normal.
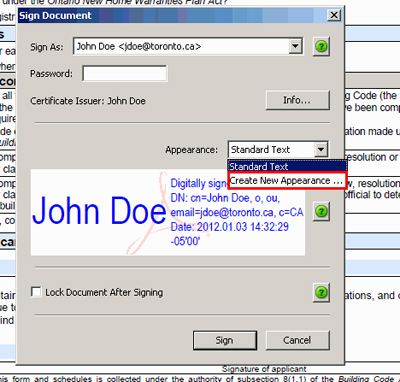
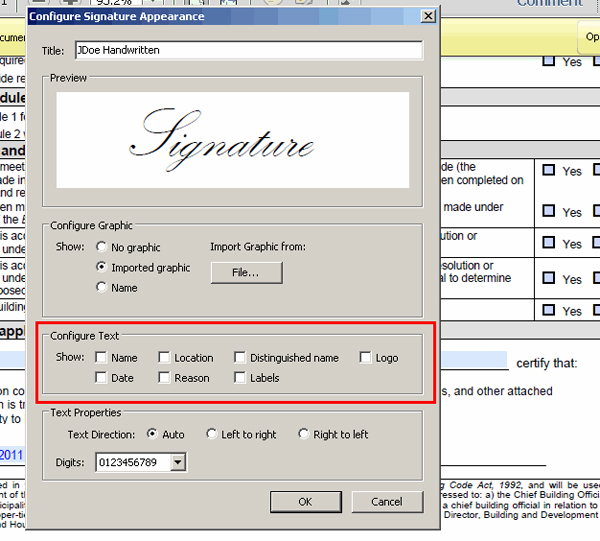
Beside the Appearance block, click “Create New Appearance” to open the “Configure Signature Appearance” dialog box.
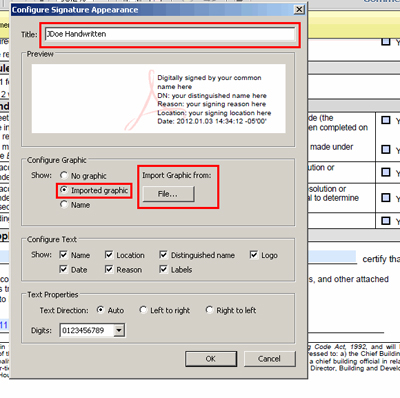
In the Create New Appearance drop-down, give your new signature a descriptive name (ie. Name Hand-written). In the Configure Graphic section, select “Imported Graphic” and click “File…”
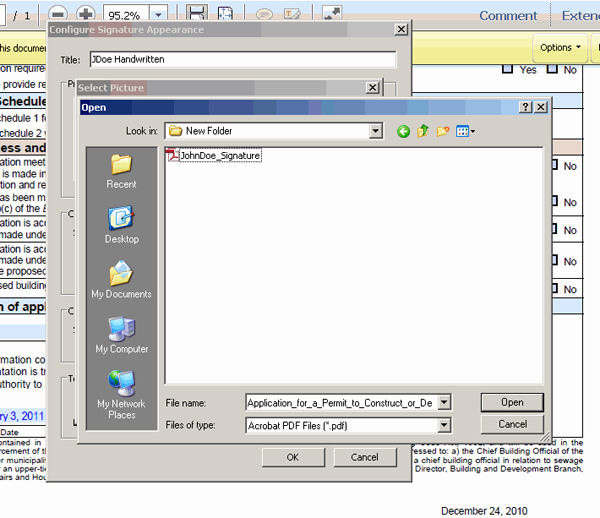
Browse for the PDF containing your scanned signature created in steps 8 and 9. It will open in the “Select Picture” dialog to give you the opportunity to confirm visually that it’s the image you want. Once satisfied, click OK to return to the Configure Signature Appearance dialog. You will notice that your hand-written signature is now a part of the digital signature preview.
Fine-tune the appearance of your digital signature by de-selecting some of the checkboxes in the “Configure Text” section or changing the options under “Text Properties”. To create a digital signature that is exclusively your hand-written signature, un-check all the boxes in the “Configure Text” section.
When you’re satisfied, click OK to save the digital signature appearance, and then OK again to leave Acrobat’s Preferences.
Your signature appearance is now ready to use with a digital ID for signing new documents.